



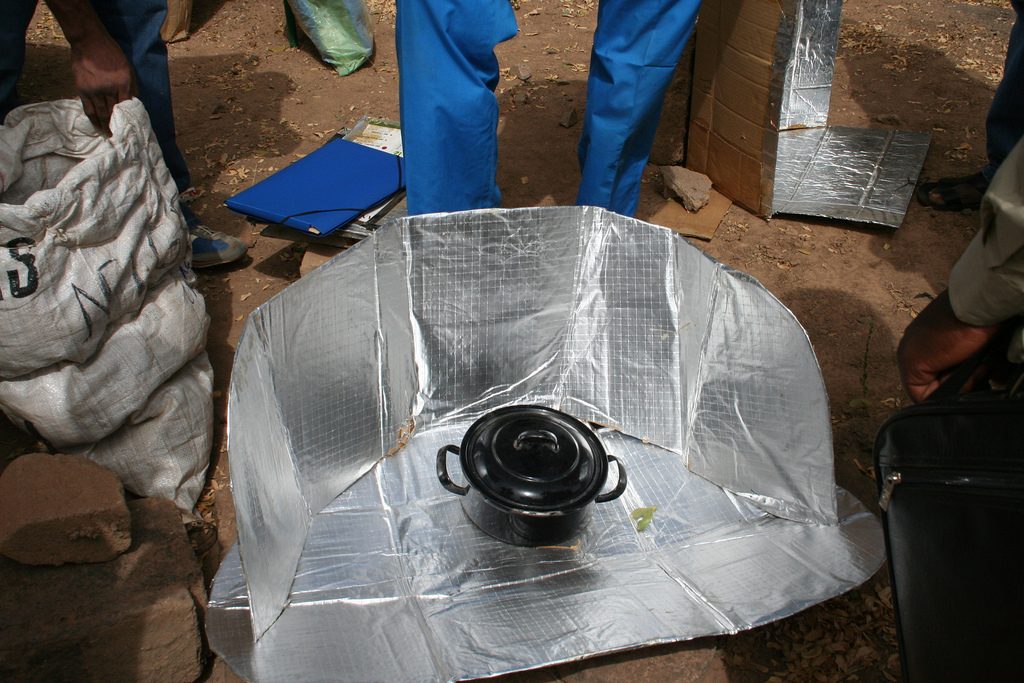
Sunlight isn’t just for tanning. It is a potent energy source waiting to be captured. A solar oven, or solar cooker, does exactly that. It converts rays from the sun directly into usable heat. One of the most effective designs for this is the funnel-shaped parabolic cooker. You don’t need a lab to build one. You just need some household junk and a pair of scissors.
The principle is simple. You gather light. You focus it. You trap the heat.
Gathering Materials for Your Solar Oven
Before you start cutting, clear your workspace. The materials list is short. You can probably find everything in your recycling bin or kitchen cupboard.
You need a flat piece of cardboard. Its length should be double its width. This ratio ensures you can form the right curve for the reflector. Next, grab aluminum foil. You will need enough to line the inside of your funnel.
Adhesion is key here. Use non-toxic glue. White school glue mixed with 50% water works well. It spreads easily. You will need a brush or a cloth to apply it.
Finally, you need a way to hold the shape. Staplers work. Zip ties work. Wire works too. Any mechanism that keeps the cardboard from springing back open is fine.
Constructing the Parabolic Shape
The geometry matters. If the curve is wrong, the heat won’t concentrate.
Take your cardboard. Cut a semi-circle along one edge. The diameter of this cut must match the size of the pot or pan you intend to cook with. This ensures the focal point lands right where the food sits.
Now, bring the two ends of the straight edge together. Crease the cardboard. You are forming a cone or funnel shape. The steeper the angle, the tighter the focus. But be careful not to crush the material. You want a smooth curve.
Lining the Reflector
Unfold the cardboard completely. Lay it flat on your table. This is where the magic happens.
Apply your diluted glue in a thin, even layer. Do not use too much. You want to avoid warping the cardboard.
Place the aluminum foil over the glue. The shiny side faces up. This maximizes reflectivity. Smooth it out carefully. Air bubbles create shadows. Shadows create cold spots. You want a mirror-smooth surface to direct every photon to a single point.
Assembling the Solar Cooker
Bring the ends of the cardboard together again. Secure them. If you use staples, space them evenly. If you use wire, punch holes and twist the ends tight.
Seal the bottom of the funnel. Cover it with another layer of foil. This prevents heat from escaping out the back. It also protects the cardboard from burning.
Stability is the next hurdle. A freestanding cone can tip. Place the assembly inside a larger box for support. Or, dig a small pit in the ground if you are outdoors. If you leave the bottom open, lay the cooker on a flat, heat-resistant surface.
Safety and Usage
Always protect your eyes. Never look directly at the focused beam.
When the sun is high and the cooker is aligned, the focal point gets hot. Fast. This is why you wear sunglasses. The concentrated light can damage your retina